Custom Fabric
The Custom Fabric tool defines a custom fabric object from the selected rebar sets. Additionally a corresponding fabric sheet, to place in the project and count for the schedule, will be created.
Activate the view with the rebar sets to define the custom fabric.
Do one of the following:
Select one or more rebar sets
Click Reinforcement tab
(Custom Fabric).
Click Reinforcement tab
The Custom Fabric dialog displays.
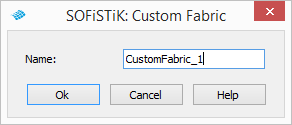
Set a desired name.
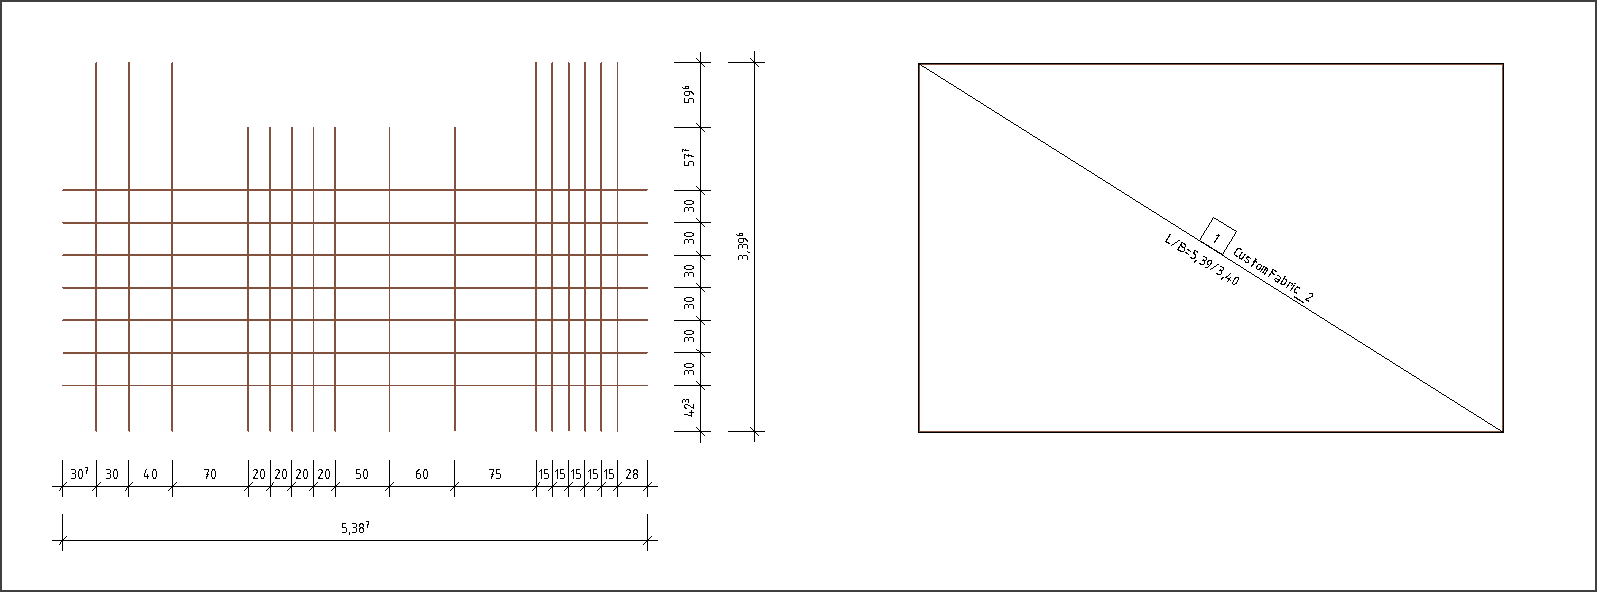
A fabric sheet with the outer dimensions and the calculated sheet mass of your defined custom fabric object will be created now.
Start to place your custom fabric sheet in your model.
Tip
You can bend your custom fabric with the Bent Fabric tool.
Note
The custom fabric object is for representation purpose and only the corresponding fabric sheet will be counted for the fabric schedule.


