Create Schedules#
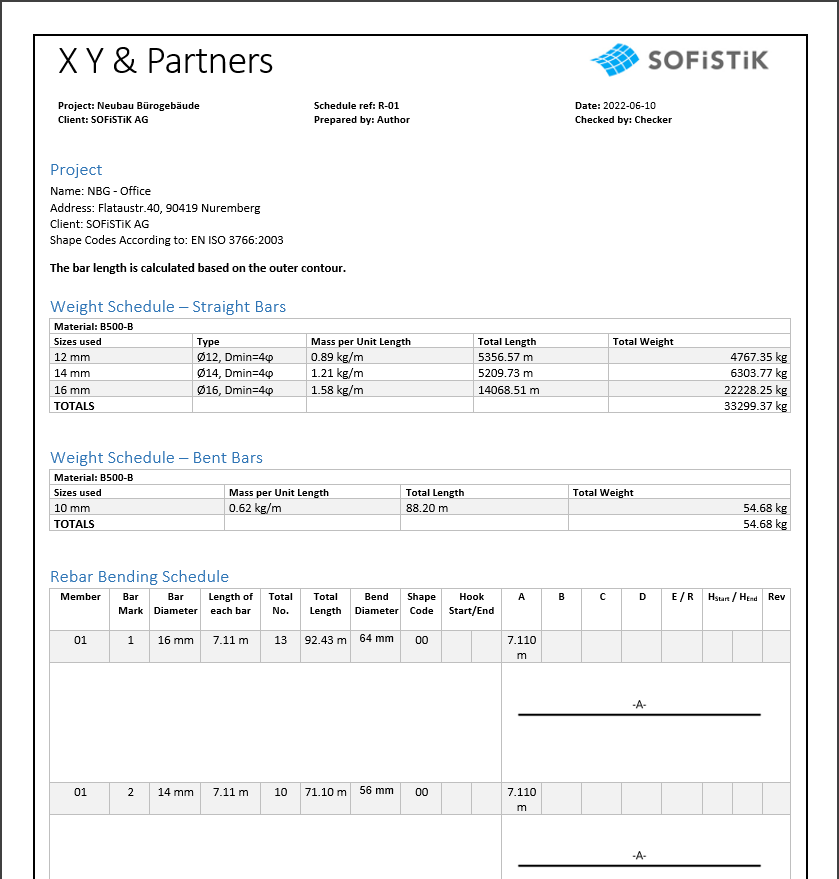
The Create Schedules tool creates one or more printable reinforcement documents with the required bending information and weight summaries. Depending on the mode for marks, the schedules will represent the reinforcement of the chosen sheets, hosts, members or the entire project. Additionally you can decide to create separate schedules for the different reinforcement layers, members and revisions of your assignment (Sheet/Host/Member/Project).
Use the Custom Schedule tool in case you want to create a single schedule with an individual selection of the reinforcement layers, members and revisions.
Choose your desired schedule template and settings on the Schedule tab in the Settings dialog.
Tip
See the Schedules page to learn more about the customization of a schedule template.
Click Reinforcement tab
 Schedule panel Schedule drop-down
  (Create Schedule).
The Select Assignment dialog (Sheet/Host/Member) displays.
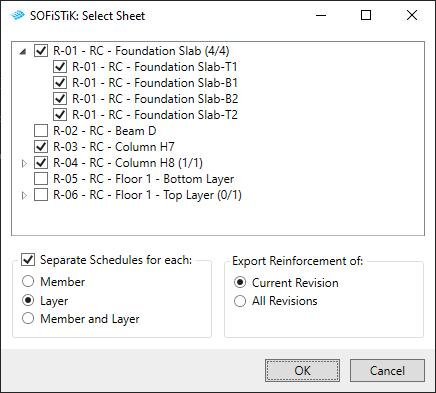
Choose whether you want to create separate schedules for all revisions or for the current revision only (If no revisions exist, this is the current revision).
(Optional) Activate the checkbox to create separate schedules for the reinforcement layer, member or layer and member.
Select one or more assignments (Sheet/Host/Member) in the dialog.
The Schedule opens as Word OpenXML document.
Tip
You can create additional output files (PDF and ABS) directly together with your reinforcement schedules.